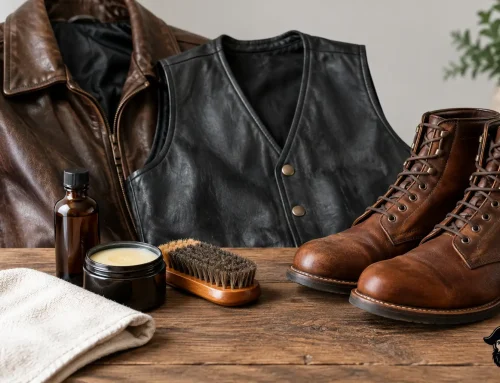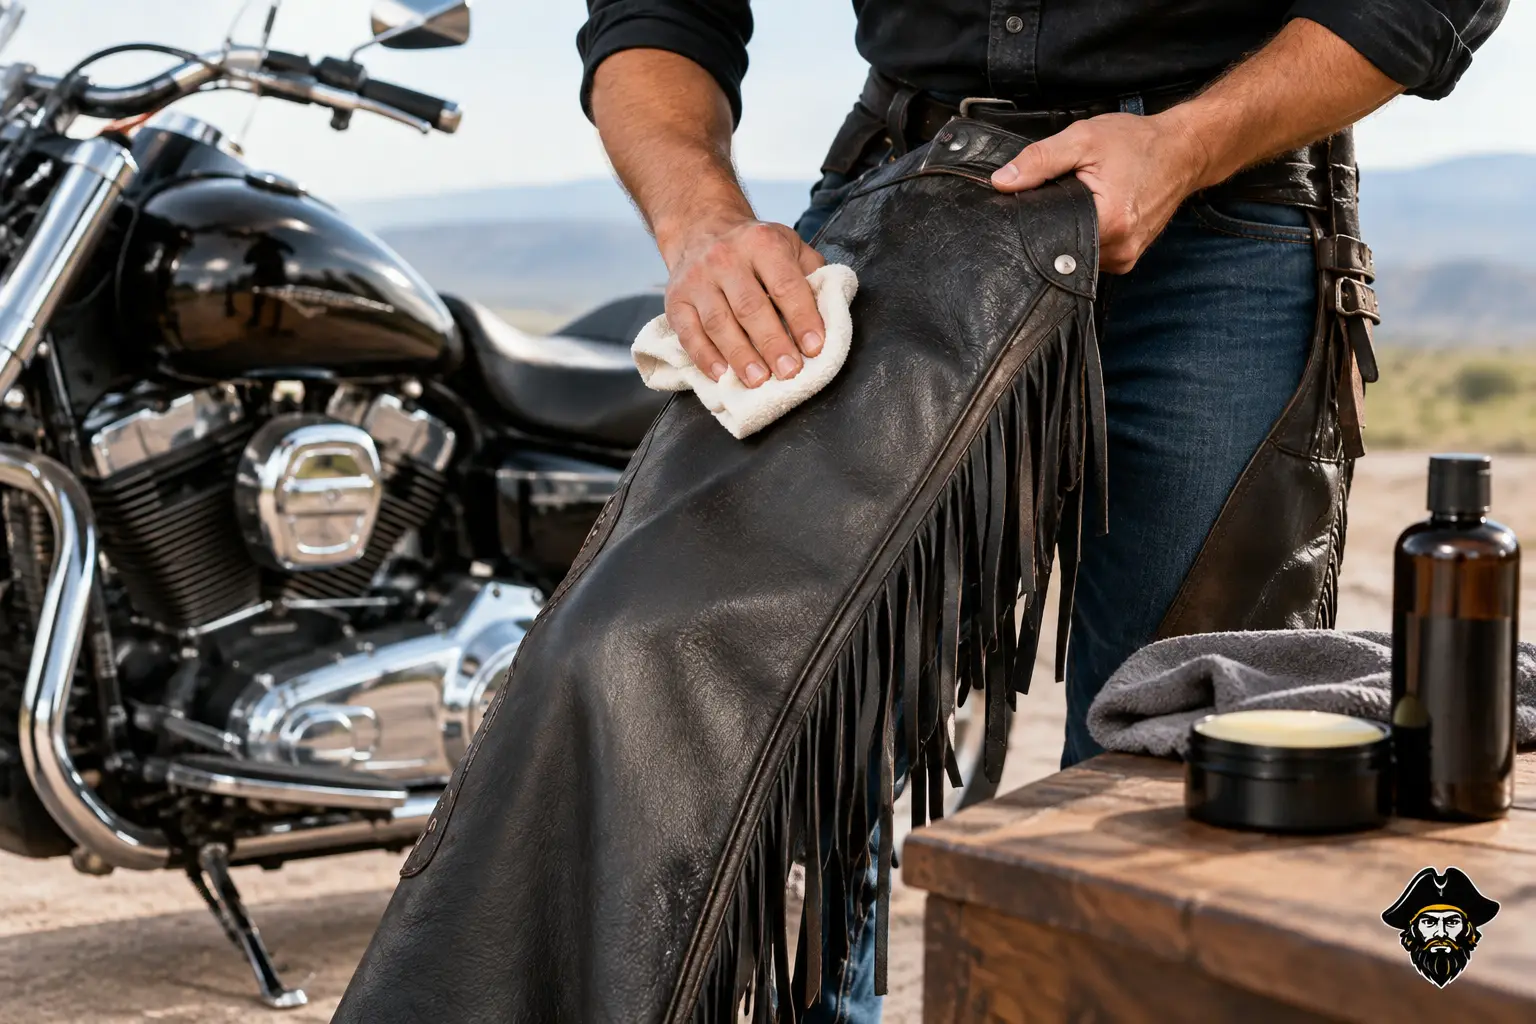
A good pair of leather chaps takes road grime, rain, sun, heat, bugs, and whatever else the highway throws at you. That is exactly why knowing how to care for leather chaps matters. Neglect them long enough and even heavy, quality leather can dry out, stiffen, crack, or start looking rough for all the wrong reasons.
Chaps are working riding gear, not something that should live untouched in the back of a closet. Keep them clean, conditioned, dry, and properly stored, and they will break in with character instead of breaking down. The goal is not a shiny fashion finish. The goal is leather that stays strong, flexible, comfortable, and ready for the next ride.
Start With the Leather You Actually Have
Before putting any cleaner or conditioner on your chaps, check the manufacturer’s care tag. Most motorcycle chaps are made from cowhide, often finished with a protective coating or treated for a softer feel. That finish affects what products are safe to use.
Smooth finished leather is usually the easiest to maintain. It can be wiped down, cleaned with a leather-specific cleaner, and conditioned as needed. Suede, nubuck, distressed leather, and heavily waxed leather need more caution. Standard conditioner can darken or change the texture of those materials, which may be fine if you like a more worn-in look but not if you want to preserve the original finish.
If you are not sure, test any product on a small hidden area inside the leg or near the waistband. Let it dry completely before treating the rest. A five-minute test can save a good pair of chaps from a bad-looking blotch.
How to Care for Leather Chaps After a Ride
You do not need to deep-clean your chaps every time you roll into the garage. What you need is a quick habit that prevents dirt from becoming part of the leather.
Once the chaps have cooled and dried, use a soft dry cloth to wipe off dust, road film, and loose debris. Pay extra attention to the lower legs, seams, zipper tracks, and belt area. These spots catch the most grime and sweat. If bugs or mud are stuck on the leather, use a cloth lightly dampened with clean water. Do not soak the material.
For more stubborn dirt, use a cleaner made specifically for leather. Apply it to the cloth first, not directly onto the chaps, then work in small sections with light pressure. Aggressive scrubbing can strip protective finishes and leave uneven spots. Skip household cleaners, dish soap, bleach, alcohol, window spray, and degreasers. They may cut through dirt fast, but they can also pull vital oils from leather and leave it dry and brittle.
Let the chaps air-dry after cleaning. Leather needs time to settle before it gets conditioned or stored.
Condition Leather Without Overdoing It
Conditioner replaces some of the oils leather loses through sun exposure, wind, rain, heat, and regular wear. It helps keep the hide flexible, which is what prevents that cardboard-stiff feel and reduces the chance of cracking at stress points.
For most riders, conditioning two to four times a year is enough. If you ride hard through hot, dry weather or your chaps get wet often, they may need it more frequently. On the other hand, soft leather that still feels supple does not need more product just because the calendar says so.
Apply a small amount of quality leather conditioner with a clean cloth or applicator pad. Work it into the leather in thin, even coats, especially around the knees, seat, inner thighs, and waistband. Those areas flex constantly. Let the conditioner absorb, then buff off any excess with a dry cloth.
Too much conditioner is its own problem. Over-conditioning can make leather feel greasy, attract dust, weaken the structure over time, and leave a dark or blotchy appearance. More product does not mean more protection. Use enough to restore flexibility, then stop.
Rain Happens: Dry Chaps the Right Way
Leather chaps can handle getting caught in the rain. What hurts them is being dried with direct, high heat afterward. Never throw wet chaps in a dryer, lay them across a radiator, or blast them with a hair dryer. Fast heat shrinks and hardens leather, and once that damage is done, it is tough to reverse.
Instead, hang the chaps in a well-ventilated indoor space at room temperature. Open the zippers and let air move through the legs. If they are very wet, gently blot them with a clean towel first. Keep them away from direct sunlight, too, since strong sun can fade and dry the leather while it dries.
When the chaps are fully dry, check how the leather feels. If it is stiff or thirsty, apply a light coat of conditioner. Do not condition soaking-wet leather. Water blocks absorption and can trap moisture under the product.
Waterproofing products can add extra protection if you ride in frequent rain, but they are not a free pass to ignore maintenance. Some sprays can alter the color, sheen, or breathability of leather. Use a product suited to your specific finish and test it first.
Deal With Salt, Mold, and Road Grime Fast
Salt is especially rough on riding leathers. In colder states, road salt can leave white residue around the lower legs and seams. Wipe it off as soon as possible with a damp cloth, then allow the area to dry naturally. Leaving salt on leather gives it more time to pull moisture from the hide.
If your chaps smell musty or show early signs of mold, take them out of the storage area immediately. Wipe the surface carefully with a leather-safe cleaner and let them dry somewhere with good airflow. Mold usually points to a damp closet, basement, garage, or storage tote. Clean chaps will only grow mold again if they go back into the same wet environment.
Heavy oil stains, ink, deep mildew, or severe water damage may need professional leather cleaning. Trying to attack a serious stain with random home remedies can make it permanent. A pro leather cleaner costs less than replacing quality riding gear.
Do Not Forget Zippers, Snaps, and Laces
The leather gets most of the attention, but the hardware makes chaps usable. Keep zipper teeth free of grit and check that snaps close securely. A soft brush can clear debris from zippers, while a zipper lubricant made for apparel hardware can help with sticking.
Do not force a zipper that is jammed. Check for trapped lining, dirt, or a bent tooth first. Pulling hard can tear the zipper tape away from the leather, turning a simple maintenance job into a repair.
If your chaps have lace-up sides, inspect the laces for fraying and make sure the eyelets are not pulling loose. Replace damaged laces before they snap on the road. Small repairs handled early keep the whole garment in service longer.
Store Chaps Like Riding Gear, Not Garage Clutter
When the riding day is done, hang your chaps on a wide hanger or fold them loosely without crushing the leather. Keep them in a cool, dry place with airflow. Avoid plastic bags for long-term storage because they trap moisture, especially in humid areas.
For off-season storage, clean and fully dry the chaps first, then give them a light conditioning if needed. A breathable garment bag is a better choice than a sealed bin. Keep them away from fuel cans, chemicals, direct heat, and unfinished concrete floors where moisture can migrate upward.
A pair of top-quality leather chaps should earn its wear marks, not get ruined by bad storage. That is why riders who build a full road setup with leather jackets, vests, gloves, boots, and luggage should give every leather piece the same basic attention. Blackbeard’s Motorcycle Gear is built for riders who want that tough, road-ready look backed by gear made to hold up.
Before your next long run, pull your chaps out, check the seams and hardware, wipe off the dust, and feel the leather. If it is clean, flexible, and dry, you are good to go. That small routine keeps your gear looking like it belongs on the bike, mile after mile.