You do not notice a bad luggage setup in the driveway. You notice it at 70 mph when a duffel starts walking sideways, a loose strap starts slapping paint, or your tail bag sags toward the tire. That is why knowing how to secure motorcycle luggage straps matters before the kickstand goes up. A clean-looking load is not enough. It needs to stay tight through wind, bumps, braking, and long miles.
Why strap security matters on a motorcycle
A motorcycle does not forgive lazy packing. Your luggage sits out in the wind, your bike leans through corners, and every bump tries to shift weight where you do not want it. If the bag moves, the bike can feel unsettled. If a strap comes loose, it can get near the wheel, chain, belt, pipe, or brake components. That goes from annoying to dangerous fast.
There is also the wear issue. A cheap tie-down job can rub through leather, scuff hard bags, mark paint, and fray straps long before the trip is over. Riders who spend good money on road-ready gear usually want it to hold up, and that starts with fastening it correctly.
How to secure motorcycle luggage straps without guesswork
The basic rule is simple. Your bag should be tight enough that it does not shift under hard braking or a quick lane change, but not so crushed that you deform the bag, damage zippers, or stress mounting points. You are securing luggage to the bike, not trying to flatten it.
Start by choosing solid anchor points on the motorcycle. Good spots are sturdy luggage racks, sissy bar mounts, frame points, and passenger peg brackets when the strap angle makes sense. Weak plastic trim, turn signals, loose backrests, or anything close to moving or hot parts are bad choices. If you would not trust the part to hold weight while parked, do not trust it on the road.
Next, center the load. Heavier items should sit low and as close to the bike’s centerline as possible. A bag hanging off one side or stacked too high behind the rider may look manageable in the garage, but it can affect balance once you are moving. Cruiser and touring riders can usually get away with more cargo than a stripped-down bike, but every setup still has a limit.
Then run the straps so they pull the bag down and slightly inward. That angle matters. A strap pulling only straight down may let the bag slide left or right. A strap pulling only sideways may let it bounce. You want tension that locks the bag into the bike, not just onto it.
Use the right straps for the job
Not all straps belong on a motorcycle. Basic bungee cords are common because they are cheap and fast, but they are not the best choice for primary security. They stretch, they can shift, and metal hooks can scratch parts or come loose at the worst time. A bungee can sometimes help tidy a light item, but it should not be the main thing keeping your luggage on the bike.
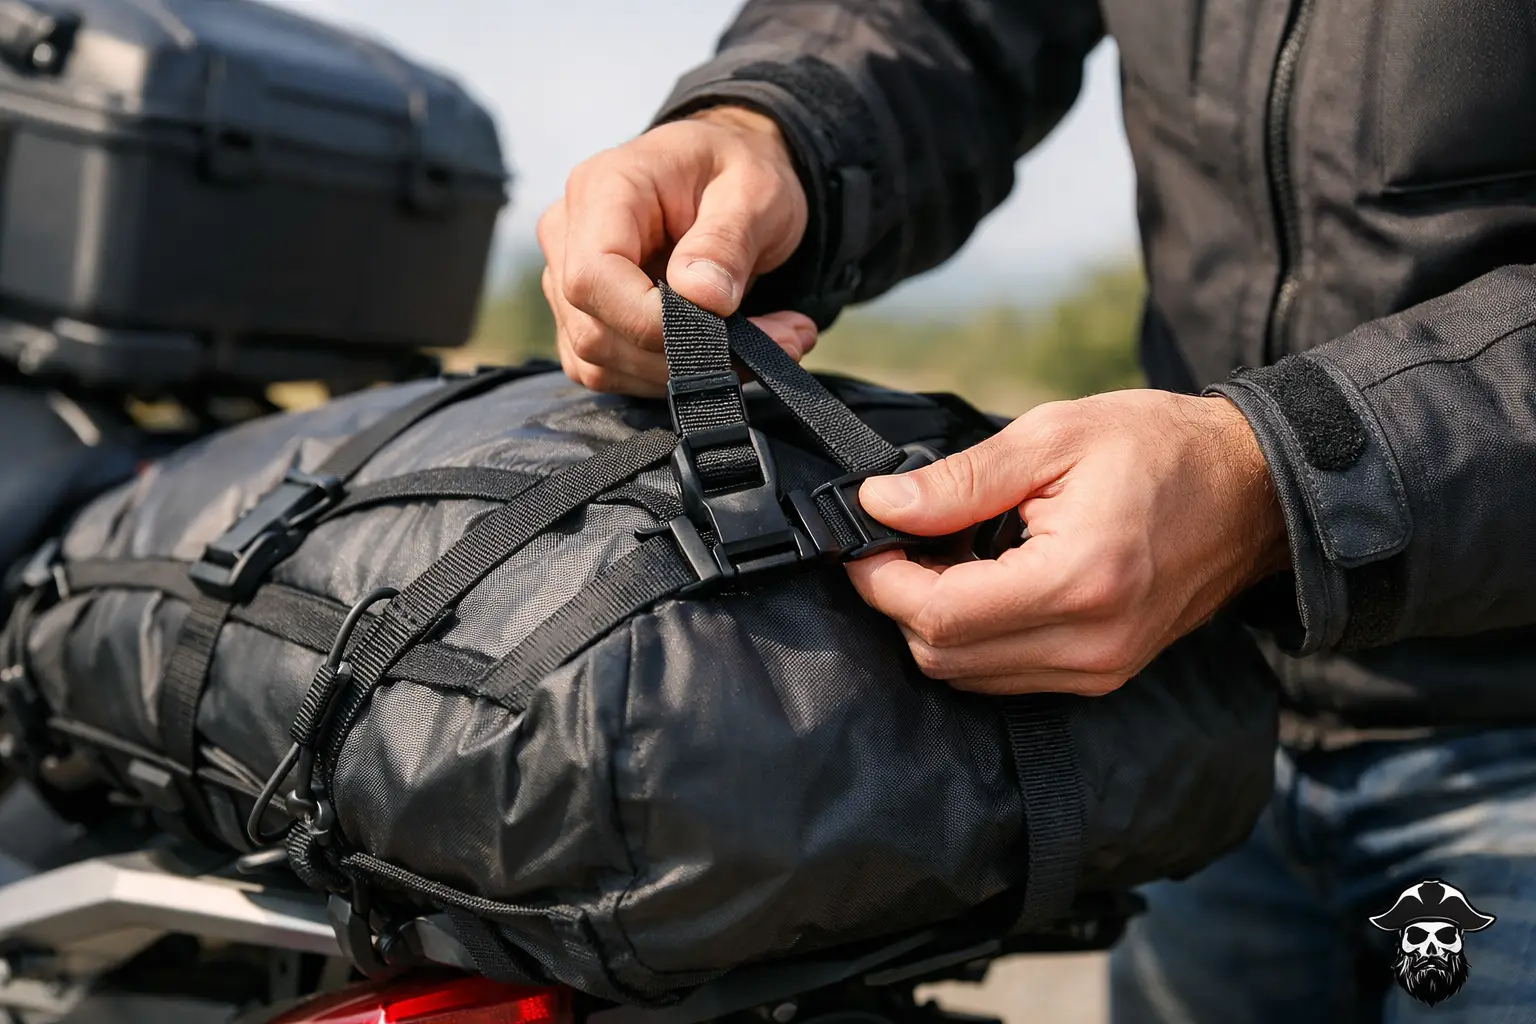
Cam buckle straps are a better fit for most riders. They are easy to cinch, simple to adjust, and less likely to over-tighten than ratchet straps. Ratchet straps can work, but they are often more than you need for motorcycle luggage and can crush softer bags if you get heavy-handed. Hook-and-loop keeper straps are also useful for wrapping up loose ends after everything is tight.
If you are hauling leather motorcycle bags, soft luggage, or a tail pack, wider straps are usually better than skinny ones because they spread pressure and reduce wear. Look for durable webbing, solid stitching, and buckles that do not feel flimsy. A rugged bag deserves a rugged strap setup.
Common mistakes that make luggage come loose
The biggest mistake is trusting one strap when two or more are needed. One strap might hold a bag in place while the bike is parked, but riding forces are different. Wind catches edges. Pavement jolts the load. A single-point setup gives the bag room to rotate or creep.
Another mistake is leaving long strap tails loose. Even if the load feels tight, extra webbing can flap in the wind, wear through, or reach moving parts. Roll the excess and secure it with a keeper, elastic loop, or tape if needed. Clean setups last longer.
Riders also get in trouble by strapping over things they still need to access. If your fuel cap, saddlebag latch, or passenger grab area is blocked by your tie-down pattern, you are more likely to rush the reattachment when you stop. That is when straps get misrouted and loads get sloppy.
Watch heat, wheels, and suspension travel
This part gets overlooked all the time. A strap can look safely routed while the bike is standing still, then sag closer to the exhaust or rear wheel once the suspension compresses. Leave enough clearance for real-world movement, not just parked-bike clearance.
Pay special attention around pipes, axle areas, belt guards, chains, and shocks. Heat can weaken or melt webbing. Rotating parts can grab a loose end in a second. After you strap the bike down, push on the rear suspension and check the path again. If there is any doubt, reroute it.
A reliable strap routine before every ride
A good packing routine saves trouble later. Set the bag where you want it and check that the weight feels balanced. Attach the first strap loosely, then the second, then tighten both evenly. If you crank one side all the way down before setting the other, the bag usually ends up crooked.
Once the bag is snug, grab it and try to move it front to back and side to side. You should feel the bike move with the bag. If the bag moves independently, it is not secure enough. Then check every buckle, every anchor point, and every loose strap end.
After five or ten miles, stop and check it again. New straps settle. Soft bags compress. What felt tight in the driveway may need one more pull after the first stretch of road. On longer rides, make strap checks part of every gas stop.
Soft luggage, tail bags, and duffels each behave differently
Soft saddlebags are usually the easiest to stabilize because they sit lower and have more support from the bike, but they still need careful routing if they are fully loaded. Tail bags and duffels can be trickier because they sit higher and catch more wind. The taller the load, the more leverage it has to shift.
A round duffel is one of the most common problem bags because it wants to roll. If that is what you are carrying, run the straps in a way that prevents rotation, not just lift. Crossing straps over the top can help, especially if the bag is mounted on a luggage rack or passenger seat.
Leather luggage deserves a little extra care. It is tough, road-ready, and built for riders who want both function and style, but leather still benefits from proper pressure distribution. Do not over-tighten narrow straps against the same edge for hours at a time if you can avoid it.
When to replace your luggage straps
Straps are not forever. If the webbing looks frayed, cut, glazed from heat, or weakened at the stitching, retire it. If the buckle slips under tension, retire it. If the hook is bent or the strap has taken on a permanent twist that keeps it from laying flat, retire it.
This is not the place to save a few bucks by stretching gear past its useful life. Your luggage setup is part of your riding safety. Good straps cost less than replacing lost gear, damaged paint, or a trip cut short on the shoulder.
A few practical upgrades that make life easier
If you ride with luggage often, a small kit goes a long way. Keep a couple spare cam straps, a few keeper bands for loose ends, and a soft protective layer where straps touch painted parts or polished metal. That can be as simple as a strap sleeve or soft wrap where rubbing is likely.
It also helps to choose motorcycle luggage with strong mounting points instead of trying to force a generic bag to work. Riders who want gear that looks right on the bike and holds up on the road usually do better with purpose-built motorcycle bags and quality leather luggage. Blackbeard’s Motorcycle Gear leans hard into that kind of function-first setup because style is great, but style that survives the ride is better.
A secure load should feel boring. No flapping, no drifting, no second-guessing in the mirror. Take the extra few minutes to route your straps right, keep them clear of heat and moving parts, and check them once the road starts working on them. Your gear should stay where you put it, mile after mile.