That new leather vest may look bare now, but once patches go on, it becomes your road story. This biker patches placement guide covers where patches belong, what placement can communicate, and how to keep your vest or jacket looking clean instead of cluttered. The goal is not to copy somebody else’s colors. It is to build a piece of riding gear that is yours and wear it with respect.
Start With the Garment, Not the Patch Pile
A patch layout works best when the garment can handle the job. A solid leather vest gives you the classic biker canvas: tough, structured, and built to hold its shape through miles, weather, and years of wear. Denim and textile vests can work too, but leather delivers the hard-edged look many cruiser and chopper riders want.
Lay the vest flat before you sew or apply anything. Look at the seams, pockets, liner, side laces, snaps, and adjusters. A patch that crosses a seam can bunch up, peel at the edge, or make a pocket useless. On a leather jacket, be even more selective. Zippers, armor areas, ventilation panels, and moving elbows all limit where a patch can sit without affecting comfort or function.
Do not fill every open inch on day one. Leave breathing room around your main back design, and wear the garment a few times if you are not sure of the layout. A good patch vest develops over time. It should look ridden in, not assembled in a hurry at the kitchen table.
Biker Patches Placement Guide: The Back Panel
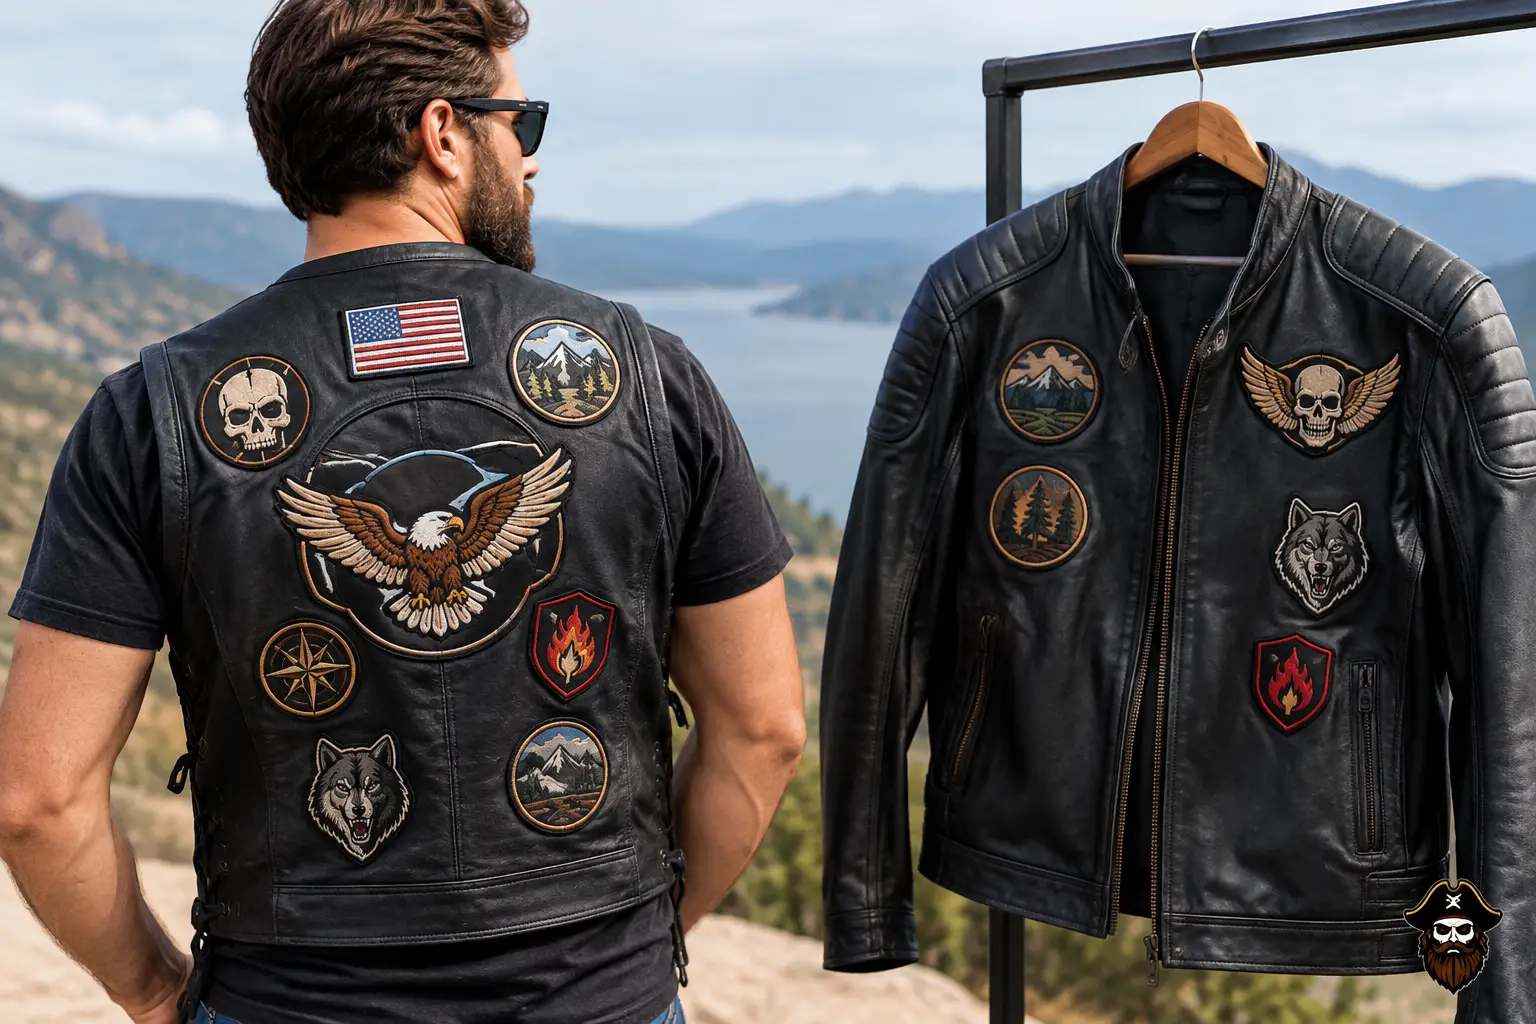
The back is the main event. It is where large back patches, event patches, memorial pieces, and personal artwork have the strongest visual impact. Center a single large patch between the shoulder blades and above the lower hem. Keep it clear of side seams so the design stays readable when the vest moves with your body.
If you have a large centerpiece and several smaller patches, establish the centerpiece first. Then build around it with balance in mind. You do not need a perfectly symmetrical layout, but one heavy cluster on a single side can make the vest look unfinished. Small patches can frame the main piece, fill lower-back space, or mark rides and rallies without taking over the garment.
Many riders ask about top and bottom rockers, state tabs, and three-piece designs. This is where common sense matters. In motorcycle culture, certain patch combinations, designs, and territorial identifiers can carry meaning beyond fashion. Do not copy or wear a club’s name, logo, location rocker, rank patch, or colors unless you are authorized to wear them. If you do not know what a patch represents, leave it off until you do.
The same goes for anything that looks intentionally close to an established club design. There are plenty of ways to show your identity without borrowing somebody else’s. Choose your own ride name, an independent design, a brand patch, a military service patch you earned, a memorial patch, or artwork that means something to you.
Keep the Lower Back Clear Enough to Sit
A thick stack of patches at the bottom of a vest can become uncomfortable against a backrest or seat. It can also rub against the saddle and wear faster. Keep bulky embroidery and metal-backed pieces away from areas that take constant pressure. Road gear needs to work on the bike, not just look right in a parking lot.
Front Placement: Small Patches, Clear Purpose
The front of a vest is best for smaller pieces. Chest patches, name patches, flag patches, ride pins, and compact personal designs belong here because they can be seen when you are facing someone. Keep them clear of zipper lines, pocket openings, and snap closures.
The left chest is a traditional spot for a name patch or a small identity patch. The right chest can carry a flag, business patch, service-related patch, or another small design. There is no universal rule saying every independent rider must use the same arrangement. What matters is that the placement looks intentional and does not interfere with the vest’s pockets or closure.
If your vest has concealed-carry pockets, inside storage, or snap-front pockets, test every opening before sewing. A patch stitched through a pocket can ruin the function that made you buy the vest in the first place. Mark the patch position with painter’s tape, then open and close the pocket before committing.
Avoid loading the front with oversized patches. Big front graphics can make a vest feel stiff and crowded, especially under the wind. Save the major artwork for the back and let the front carry the details.
Shoulder, Side, and Collar Patches
Shoulders are good territory for narrow patches, small flags, or compact ride markers. Keep them below the shoulder seam so they do not roll around the curve of the garment. A patch wrapped too far over the shoulder is hard to read and more likely to catch wear from straps, rain gear, or a backpack.
Side panels can hold small vertical patches, but use restraint. Side laces need room to adjust, and patches placed too close to them can make the vest pull unevenly. If you wear a jacket under your vest, give the side panels room to move instead of locking the leather into a stiff, crowded shape.
Collars are usually better left alone. They flex constantly, rub against your neck, and can make small patches curl at the edges. The exception is a very small flat patch on a stable collar panel, but it is often more trouble than it is worth.
Sew-On, Iron-On, or Adhesive: Choose for the Road
For a leather vest or jacket, sewing is the dependable option. A skilled leatherworker or alterations shop can stitch patches securely without chewing up the material. Hand-sewing can work for riders with patience, the right needle, and heavy-duty thread, but leather does not forgive sloppy extra holes. Plan the placement carefully before the first stitch.
Iron-on backing is not a reliable long-term solution for leather. High heat can damage the finish, discolor the surface, weaken adhesives, or leave a visible mark. Adhesive patches and fabric glue may hold for a while, but heat, rain, vibration, and time can lift the corners. They are better for temporary placement checks than permanent road use.
Before sewing, remove the liner only if the garment construction allows it. A professional can often stitch through the outer shell while keeping the inside clean. If stitches will show on the interior, that may be fine on a working vest. On a premium leather jacket, however, clean finishing is worth paying for.
Build a Vest That Still Rides Well
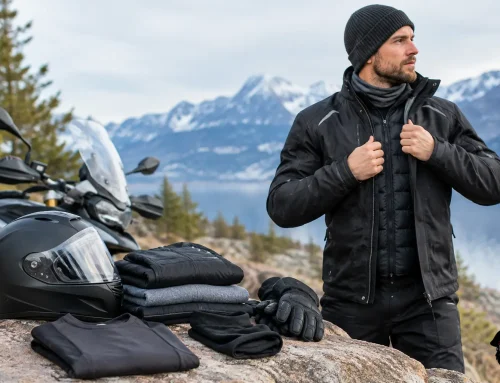
Your patch layout should work with the rest of your gear. A leather vest over a riding shirt may be your warm-weather setup, while a leather jacket, gloves, and boots take over when the temperature drops. The patches should not block vents, interfere with a jacket zipper, or turn a flexible garment into a rigid board.
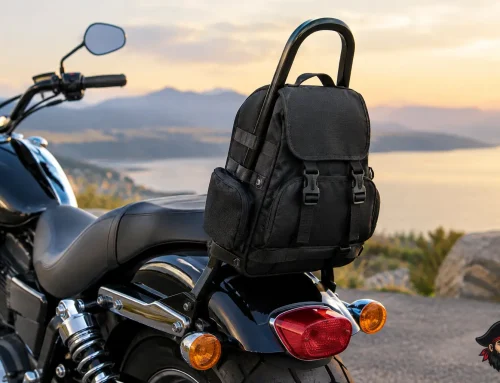
Think about luggage and straps too. A backpack, sissy bar bag, or shoulder strap can repeatedly rub the same patch edge. If you use motorcycle luggage for long rides, keep delicate embroidery away from high-friction zones. The same practical thinking applies to toll gear. A rugged toll pass holder belongs where it is easy to reach and will not scratch your bars, while your patch vest stays focused on identity and road presence.
A clean layout also makes maintenance easier. Brush off road dust, use leather-safe care products around patch edges, and check stitching after long rides. Loose thread is easy to fix early. Let it go too long and you can lose a patch that cannot be replaced.
Wear It With Respect
The strongest patch vest is not the one with the most embroidery. It is the one where every piece has a reason to be there. Start with a quality leather foundation, add what you have earned or what genuinely represents you, and give each patch room to stand on its own.
When you are ready to build a vest or jacket that can take real miles, Blackbeard’s Motorcycle Gear offers tough leather riding apparel made for riders who want their gear to look as serious as it performs. Put your story on good leather, stitch it right, and let the road add the rest.