Your gloves take the abuse before your hands do. They catch road grit, bug splatter, fuel-station grime, sweat, rain, and whatever else comes with putting miles behind you. Knowing how to clean leather gloves the right way keeps them comfortable, presentable, and ready to work without turning good riding leather stiff, cracked, or slick.
Leather gloves are not a T-shirt. Tossing them in a washing machine, soaking them in a sink, or blasting them with heat can wreck the fit and pull vital oils out of the hide. A little regular care beats a desperate deep-clean after a full season of neglect.
Before You Clean Leather Gloves, Read the Label
Start with the manufacturer care tag if your gloves have one. Some riding gloves include textile panels, waterproof membranes, gel padding, knuckle armor, perforated leather, or specialty linings that need a different approach. When the label gives a specific instruction, follow it over any general rule.
For most full-grain or top-grain leather riding gloves, the safe plan is simple: use as little moisture as possible, clean gently, let them dry slowly, and restore the leather afterward if it feels dry. This is especially true for black gloves, where harsh cleaners can leave dull patches or uneven color.
If the gloves have taken a hard slide, inspect them before cleaning. Deep abrasion, torn seams, exposed armor, or leather worn thin at the palm is a safety issue, not a cosmetic one. Clean gear is good. Gear that can still protect your hands is better.
What You Need for a Safe Clean
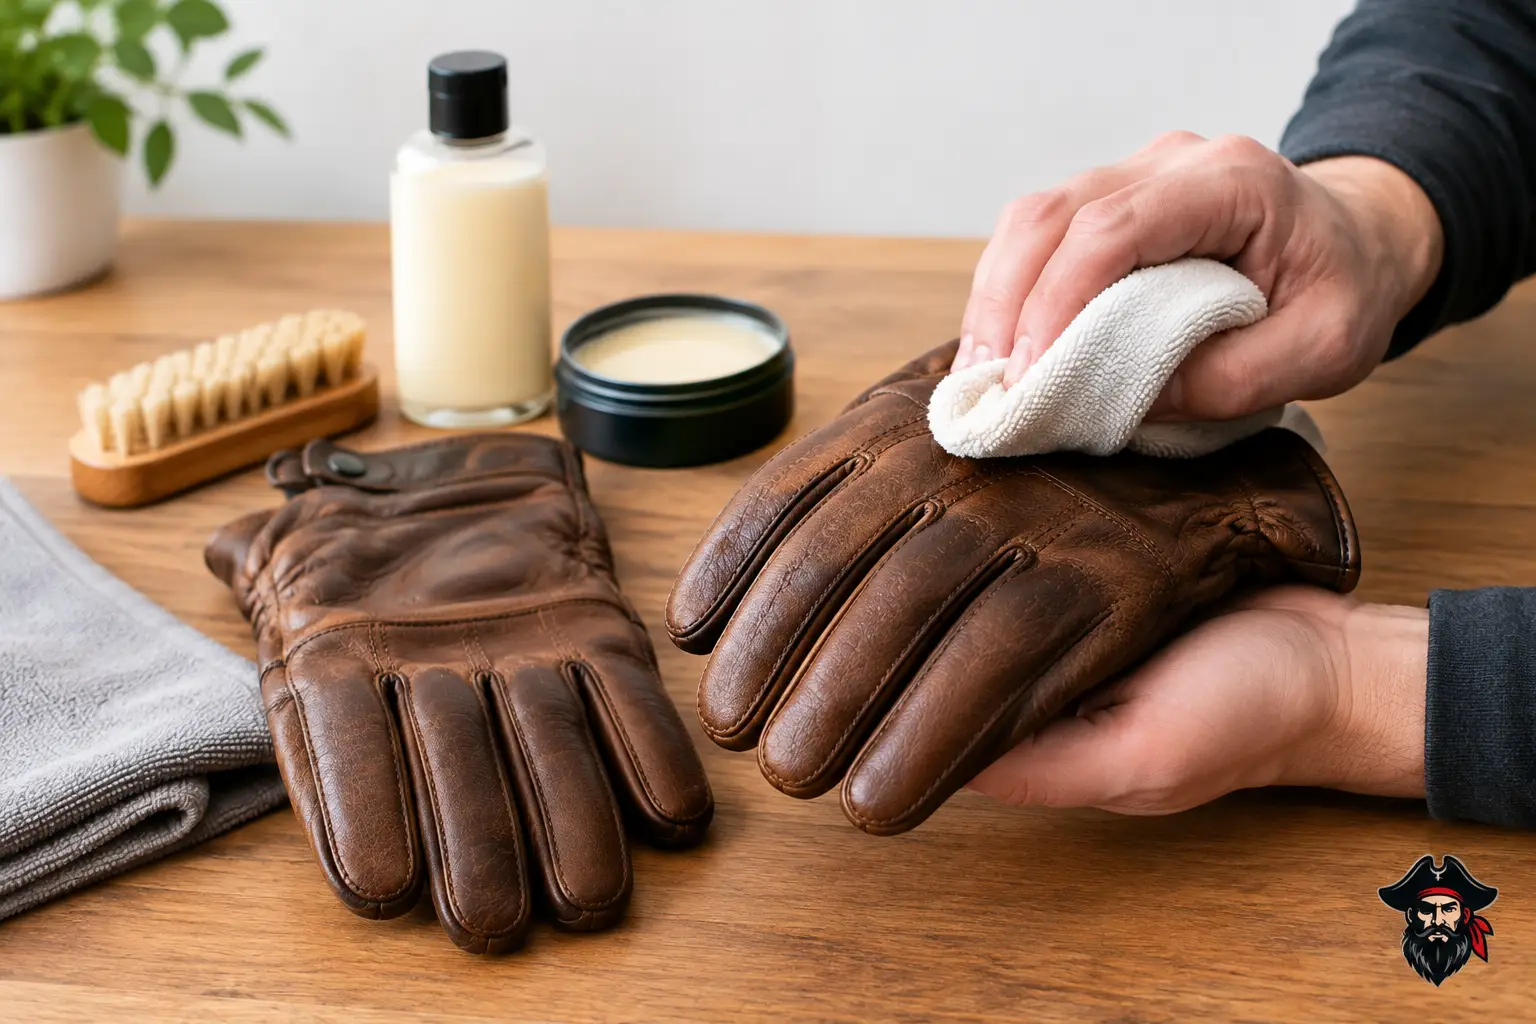
You do not need a shelf full of detailing products. Gather a soft microfiber cloth, a second dry towel, lukewarm water, a mild leather cleaner, and a leather conditioner made for smooth leather. A soft toothbrush can help around stitched panels and knuckle seams, but use it lightly.
Avoid household shortcuts that sound tough but treat leather rough. Do not use laundry detergent, dish soap, bleach, alcohol wipes, degreaser, glass cleaner, vinegar, petroleum jelly, or silicone-heavy sprays. They can strip the leather, damage the finish, leave residue on the grip, or cause cracking later.
For gloves with a suede or nubuck finish, use a cleaner made specifically for that material. Smooth-leather conditioner can darken suede and flatten its texture. When in doubt, test any product on a small spot near the cuff first.
How to Clean Leather Gloves Step by Step
Knock off dry dirt first
Put the gloves on and brush your palms together lightly to loosen dust and dried grit. Then use a dry microfiber cloth to wipe the fingers, cuff, palms, and back of each hand. Pay attention to the thumb seam and the spots around closures where grime tends to build up.
Never start by rubbing dirt with a wet cloth. Road dust can contain fine grit, and grinding it into damp leather is an easy way to scuff the finish.
Use a barely damp cloth, not a soaking wet glove
Dampen a clean cloth with lukewarm water and wring it out hard. The cloth should feel moist, not drip. Wipe the gloves in small sections, using light pressure to lift surface grime. Work from the cuff toward the fingers so dirty moisture does not run into the lining.
For regular road film, this may be enough. If the leather still looks dirty, place a small amount of leather cleaner on the cloth, not directly on the gloves. Wipe one section at a time, then immediately remove excess product with another lightly damp cloth.
Keep water away from the inside as much as possible. Saturating the lining can cause odor, slow drying, and an odd fit once everything tightens back up.
Handle stubborn spots with patience
Bugs, mud, and dried road splash need time more than force. Hold a lightly damp cloth against the spot for a few seconds, then wipe gently. Repeat if needed. Scrubbing hard can remove dye from high-wear areas, especially along the fingers and palm creases.
For grease marks, resist the urge to attack the stain with a strong solvent. Use a leather-safe cleaner and work slowly. Some darkening may remain, and that is part of using real riding gear. A small mark is preferable to a dried-out patch of leather with no protective finish left.
Clean the inside only when it needs it
Sweat is part of riding, particularly in warm weather. If the inside smells or feels grimy, turn the cuff open as far as possible and wipe the accessible lining with a cloth that is only slightly damp. Let air move through the glove afterward.
Do not soak the glove to wash the lining. If odor keeps coming back after gentle cleaning and full air-drying, it may be time to retire the pair or rotate between two pairs during heavy riding months.
Dry Leather Gloves the Right Way
After cleaning, reshape the gloves while they are still slightly damp. Put them on for a minute or two and flex your fingers gently. This helps the leather dry closer to the shape of your hand instead of shrinking into a stiff claw.
Then lay them flat or hang them by the cuff in a well-ventilated spot, away from direct sun. Keep them away from radiators, space heaters, clothes dryers, dashboard heat, and hair dryers. Fast heat is the enemy here. It pulls moisture out too quickly and can leave leather hard, brittle, and prone to cracking at the knuckles.
If rain soaked your gloves on a ride, blot them with a towel and let them dry at room temperature. You can place clean, unprinted paper inside the cuffs to help absorb moisture, replacing it as it becomes damp. Do not pack them tight. Airflow matters.
Condition After Cleaning, but Do Not Overdo It
Once the gloves are fully dry, apply a small amount of leather conditioner to a clean cloth. Work it into the leather using light circles, focusing on flex points at the fingers, thumb, palm, and wrist. Let it absorb, then buff away any excess with a dry cloth.
Conditioner replaces some of the oils lost to weather, sweat, and cleaning. It can also help keep the leather supple when you work the clutch, throttle, brake, and grips all day. But more is not better. Over-conditioning can make leather too soft, leave it greasy, and reduce the secure feel you want on the bars.
How often depends on your climate and miles. Riders in hot, dry areas or frequent rain may need to condition more often than weekend riders in mild weather. A simple test works: if the leather feels dry, looks dull, or starts feeling less flexible, it is time for a light treatment.
Common Mistakes That Ruin Good Riding Gloves
The biggest mistake is treating leather like fabric. Machine washing twists seams and saturates the lining. A dryer or heater can shrink the gloves and make the leather crack. Harsh cleaners may remove more than grime – they can strip color, coatings, and the natural oils that keep leather alive.
Another mistake is ignoring gloves until they are filthy. Wiping off fresh road film after a ride takes less than a minute and prevents deep grime from settling into the grain. It also gives you a chance to spot loose stitching, worn fingertips, or a damaged closure before the next ride.
Finally, do not confuse shine with condition. Some sprays make leather look glossy for a day but leave a slippery residue. Your gloves need a clean, grippy palm and flexible leather, not a showroom finish that compromises control.
Store Them Ready for the Next Ride
Store clean, dry gloves in a cool, dry place away from direct sunlight. Do not leave them crushed in a saddlebag for weeks or stuffed in a damp jacket pocket. If you carry gloves in motorcycle luggage, give them time to air out once you are home.
Quality leather gear earns its keep when you maintain it. Blackbeard’s Motorcycle Gear riders count on road-ready leather that looks right and works hard, from gloves and jackets to vests and boots. Keep your gloves clean, keep them conditioned, and they will feel better every time you wrap your hands around the bars.
A few minutes of care after the dirty rides means your gloves stay broken-in for the good reasons – miles, weather, and the road ahead.