A stiff new pair of leather boots can look road-ready on day one and still feel like they were built from sheet metal. That firmness is not always a bad sign. Quality leather riding boots need structure around the ankle, heel, and sole. The trick in learning how to soften leather boots is to make the leather flex where your foot needs movement without turning a protective boot into a loose, worn-out mess.
Do not rush the process with soaking, open flames, or a bucket of mystery chemicals. Good leather responds to steady wear, measured warmth, and the right conditioner. Give it that treatment and a tough pair of boots will start feeling like your boots, not somebody else’s.
Start With the Right Expectation
Leather boots do not need to become slipper-soft to be comfortable. Motorcycle boots, especially models with reinforced toes, heels, shifters, or ankle panels, will always feel more substantial than casual footwear. That support is part of what makes them useful on the bike and on the pavement.
What should change is the flex. The leather across the instep should bend more easily, the collar should stop rubbing, and the shaft should move with your ankle instead of fighting it. If your toes are jammed against the front or your heel lifts badly with every step, that is not a normal break-in issue. Leather can loosen slightly, but it cannot reliably create a larger boot.
Break in new boots before a long ride, a rally weekend, or a full day on the road. Trying to force a fresh pair into shape during a 300-mile run is how riders end up with hot spots, blisters, and a pair of boots they never want to wear again.
Wear Them in Short, Controlled Sessions
The safest way to soften leather is also the least glamorous: wear the boots often, for short stretches, while doing normal things. Start indoors on clean floors or take a few easy walks around the block. Wear the socks you normally ride in, because thin socks and heavy riding socks change how the boot fits and where it rubs.
For the first few sessions, aim for 30 to 60 minutes. Flex the ankles, walk up and down stairs, sit down, and bend at the toe box. These movements work the leather in the places that matter without overworking one spot. Add more time as the boots begin to give.
A short local ride can help, too. Shifting and putting a foot down at stops naturally flexes the vamp and ankle area. Keep the first ride close to home. If a seam starts rubbing or a pressure point develops, you can deal with it before it becomes raw skin halfway through the day.
Do not double up on excessively thick socks just to force a faster stretch. A slightly thicker sock can help ease a snug boot, but too much bulk can make your feet numb and distort the way the boot breaks in. The goal is a comfortable, secure fit – not a wrestling match.
Use Leather Conditioner Sparingly
A quality leather conditioner helps dry, rigid leather regain some natural flexibility. It is especially useful when boots have been sitting in a warehouse, closet, or garage through dry weather. Conditioner lubricates the fibers inside the hide, which lets the leather bend more easily instead of creasing hard and cracking.
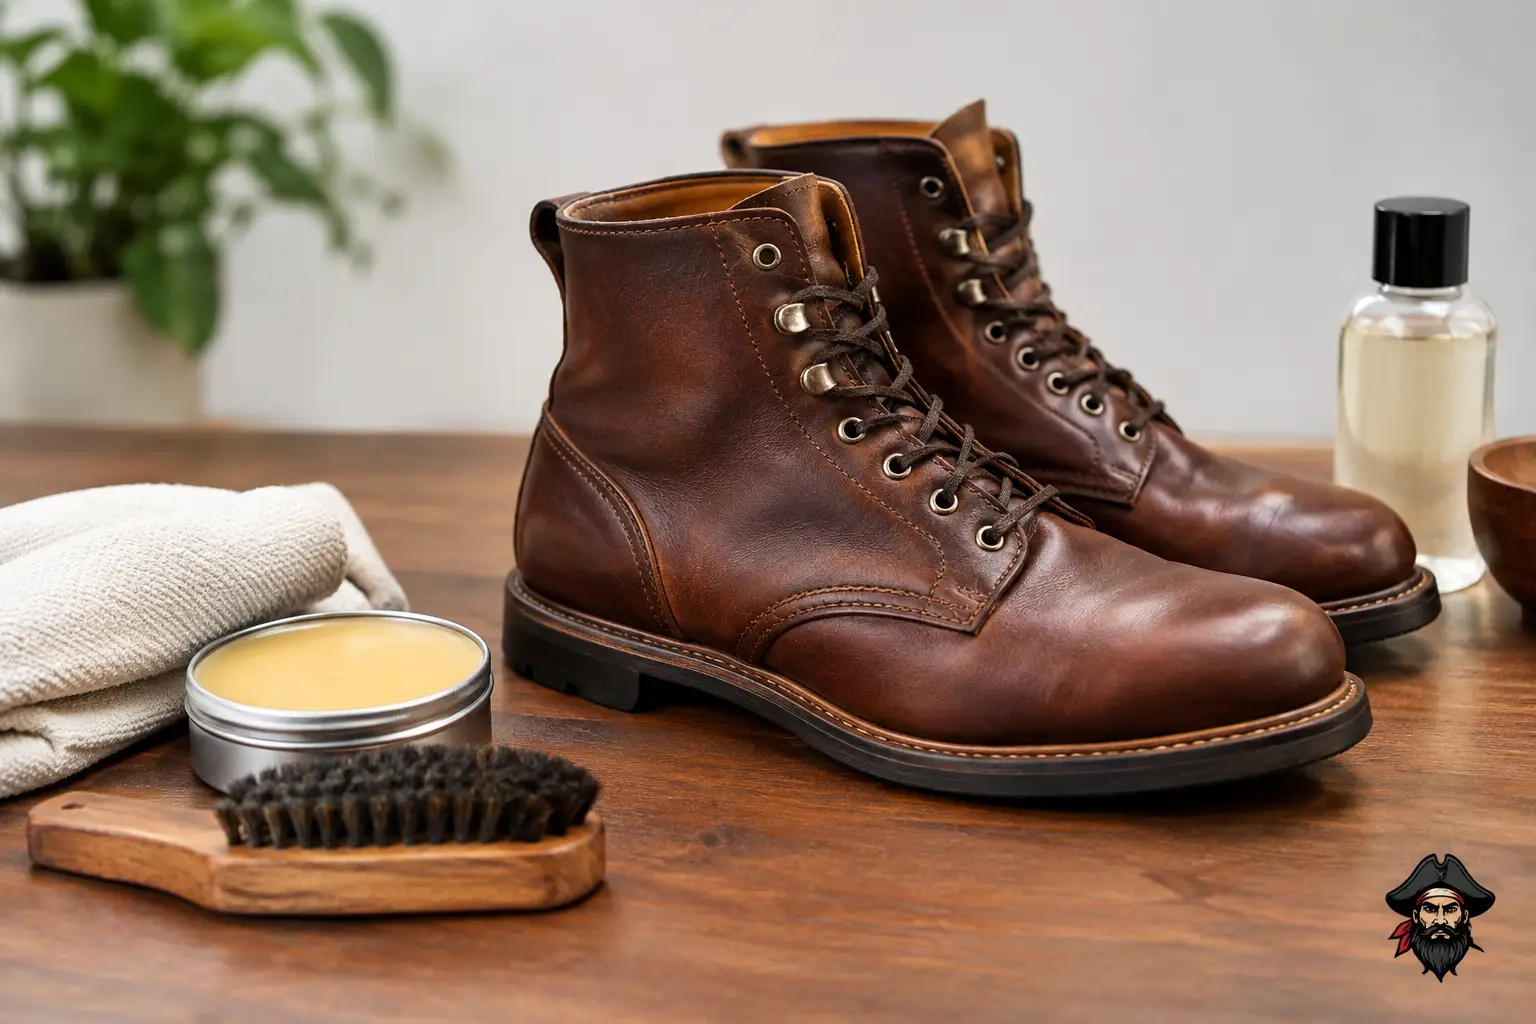
Start with clean, dry boots. Brush off road dust and dirt, then apply a small amount of conditioner with a soft cloth. Work it into the flex points: the instep, ankle crease, tongue edges, and upper shaft. Use light, even coats. Leather should absorb the product, not look wet, greasy, or overloaded.
Let the boots rest overnight before wearing them. If they still feel dry after that, apply another light coat a few days later. Heavy applications can darken leather, weaken the crisp look of certain finishes, and leave a slick surface that attracts dust. On boots with suede, nubuck, specialty coatings, or waterproof membranes, use a product approved for that material. Standard oil-heavy conditioners can stain or compromise the finish.
If your boots are already supple, conditioner is maintenance, not a shortcut. Too much can make leather overly soft and reduce the support that made you buy riding boots in the first place.
Gentle Heat Can Help, but Keep It Gentle
Body heat is your best heat source. Put on your boots after applying a light conditioner, then wear them around the house while the leather warms naturally to your feet. As you walk and flex, the warmed leather begins to conform more comfortably.
A hair dryer on low heat can be used carefully on a stubborn flex point, but keep it moving and hold it well away from the leather. Warm the area for a few seconds, never until it feels hot, then flex the boot by hand or wear it briefly. Follow with a small amount of conditioner once the leather cools.
Never put leather boots in an oven, near a space heater, on a radiator, or in direct blazing sunlight for hours. High heat pulls moisture from leather fast. It may make the boot feel temporarily softer, but it can also shrink the hide, dry out stitching, warp adhesives, and cause cracks later. That is a bad trade for a few minutes of convenience.
Target Tight Spots Instead of Treating the Whole Boot
Not every break-in problem calls for softening the entire boot. Often, one area is causing all the trouble: a stiff collar against the calf, a hard crease over the instep, or a tight spot near the little toe.
For a collar that rubs, condition the inside and outside lightly, then roll the edge gently between your fingers. Do not fold it flat or crush it. For a stubborn instep, wear the boots during short sessions and flex your foot while seated. If there is a precise pressure point across the toe area, a professional cobbler can stretch that location with the right tools.
A cobbler is the smart move for expensive boots, thick full-grain leather, reinforced riding footwear, or a fit issue that does not improve after several wears. They can spot-stretch leather without blowing out stitching or distorting the sole. Home stretching sprays and stretchers can work on plain leather, but they are easy to overdo and should not be your first move on protective boots.
What Not to Do to Leather Riding Boots
The internet is full of fast break-in tricks. Most of them create bigger problems than the stiff boots you started with. Skip these moves:
- Soaking boots in water or wearing them soaking wet. Water can strip oils, stain leather, and weaken the shape of the boot as it dries.
- Using alcohol, harsh cleaners, or household chemicals. They dry the hide and can ruin color, coatings, adhesives, and waterproof treatments.
- Smashing boots with hammers or aggressively bending them backward. You can crack leather, break down reinforcements, or separate the sole.
- Wearing them until your feet bleed. Blisters do not prove toughness. They just make the next ride worse.
Rugged gear should be treated like gear. A quality leather boot can take real miles, weather, and road grime, but it still needs sensible care.
Keep the Boots Comfortable After the Break-In
Once your boots begin to flex properly, keep them that way. Clean off dirt after rides, especially mud and road salt. Let wet boots dry at room temperature with the insoles removed if possible. Stuff them loosely with plain paper to help hold their shape and draw out moisture, but do not pack them tight.
Condition leather when it starts looking dry, not every weekend out of habit. Frequency depends on your climate, how often you ride, and whether the boots see rain, heat, dust, or winter road treatment. Riders in hot, dry areas may need more conditioning than riders who use their boots mainly for fair-weather weekends.
Store boots upright or use boot shapers to prevent deep collapse creases. Keep them away from garage-floor moisture and extreme heat. A good pair of leather boots should age with character: softened at the right points, solid where protection counts, and ready when the next ride calls.
At Blackbeard’s Motorcycle Gear, the best riding leathers are built for the long haul, not one photo and a shelf. Break your boots in with patience, care for the leather like it matters, and they will earn every scuff the honest way – out on the road.